In my last post, we created a free lab and simulated a ransomware attack with Microsoft Defender for Endpoint (MDE).
To continue that theme, we will now simulate a phishing campaign to harvest credentials in your lab environment!
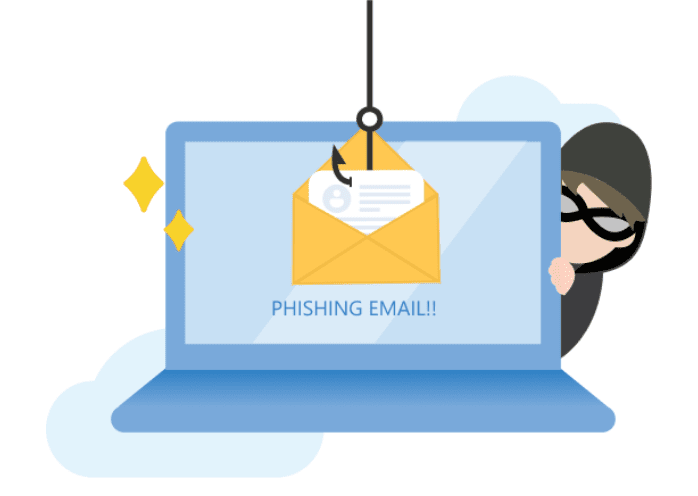
This is a feature offered by Microsoft 365 Defender which allows IT and security departments to send phishing emails to their users. The users who get caught by the phishing email can be assigned security training to educate and provide greater security awareness.

Microsoft Defender for Office 365 can be found in the unified portal here at https://security.microsoft.com. You will need a license to access these features, however I will quickly show you how to get an E5 license if you don’t already have one using a free trial (no credit card needed).
Note:
If you already have an E5 license and want to get straight to the phishing simulation, click here.
Getting the Free E5 License Trial
If you followed along with my last post, you should have a free trial license for Microsoft Defender for Endpoint (MDE). If not, Click Here to check that out first before coming back to this lab walkthrough.
Head over to https://admin.microsoft.com and sign in with the free account you made during the last lab. It should look something like this:

Click the Billing drop-down menu on the left. Then click Purchase services.
Search for Microsoft 365 E5 then click on Details.

Click Start free trial then enter the phone number associated with your account.

Click Try now then click Continue and you will now have your E5 license!
Assigning the E5 License
You should now be back at the Microsoft 365 admin center https://admin.microsoft.com
Click on the Users drop-down on the left, then click on Active users.
Note:
Here you can also add more users and apply licenses to them. Your E5 free trial comes with 25 licenses so you may want to add a few users to participate in your phishing campaign.
Click on your user account then click the Licenses and apps tab on the right.

Check the box next to Microsoft 365 E5 then click Save changes at the bottom.
You are licensed to kill! ahem.. I mean phish
Okay so you’ve got your E5 license now let’s kick off this phishing simulation already. Head over to the unified security portal: https://security.microsoft.com
Initiate Phishing Simulation
Now that you’re at the https://security.microsoft.com portal and you’ve got your shiny new E5 license, we’re ready to rock.
In the left pane click Attack simulation training it should be underneath the Email & collaboration section.
Note:
If you don’t see Attack simulation training, but you just assigned your E5 license, give it a couple minutes and refresh the page.
Click Launch a simulation

Now you will see the different phishing techniques that are available to simulate. For this lab I will stick with Credential Harvest.

Give your simulation a name then hit Next. I just named mine, Credential Harvest 10/14/21.
Next, you can select the payload. In other words, you can choose what the phishing message will look like. Currently, there are 91 pre-made payloads you can choose from and you can even create your own if you wish.
Clicking on one of the pre-made payloads will give you a preview. For this lab, I’m going with the 2 Failed Messages payload. Then click Next.

Here, you can choose to target specific users or groups of users or you can choose to include all users in your organization. For this lab, I chose all users (including myself so we can see the phishing email in action).

Now, you can choose to assign training provided by Microsoft, your own custom training, or no training at all. Training will be assigned to users who fall for the phishing emails. For this page, I will be leaving the defaults and clicking Next.

On this next page, I will check the Payload Indicators box to help users identify phishing emails and leaving everything else as default then click Next.

Next, you can schedule your phishing simulation or choose to launch it now then click Next.
On this last page, you can review your settings and send a test to yourself before finalizing the phishing simulation. If you are doing this in a work environment, it is always a good idea to test first, otherwise if this is a lab, go ahead and click Submit.

Your phishing simulation should have launched (or been scheduled to launch) successfully so you can click Done.

Simulation Launched
Our simulation has been launched so now we can see it in action. Head over to https://outlook.office.com/mail/inbox and sign in.
It looks like I received the phishing email.

For the sake of this lab, I’m going to click the big red button that we never want our users to click and it will bring me to a phony Microsoft sign in page.

I’m going to do what we never want our users to do, and I’m going to sign in with my Microsoft credentials to this fake sign in menu.

I’ve been phished!!
Fortunately, it was just a simulation this time.
Looking at my inbox it seems I’ve been assigned two training courses (one for clicking the button in the email and one for entering my credentials).

Conclusion
Once your simulation has completed, you will see a full report on the simulation including: the amount of users who clicked the email link, users who entered credentials, users who reported the email, and users who completed the security training. You will also get a list of recommended actions to improve your security score.

I hope you enjoyed this post. If you did, please consider checking out my other posts here on laboccupied.com and consider subscribing below so you’ll be the first to know when new posts are released! Thank you for reading 😄
